The Japanese knotweed, an invasive species
For many years now, the government has compiled a list of invasive species that threaten our ecosystem. An invasive species can be a plant, animal or micro-organism that, once introduced into a new environment, spreads rapidly enough to pose a threat to native species.
Native to East Asia, the Japanese knotweed (Reynoutria japonica var. japonica, syn. Fallopi japonica) is one of the 100 worst invasive species on the planet according to the World Conservation Union. Here in Canada, we do not yet make much of its presence, but in England, the presence of this plant on a property is enough to bring down the value of the house.
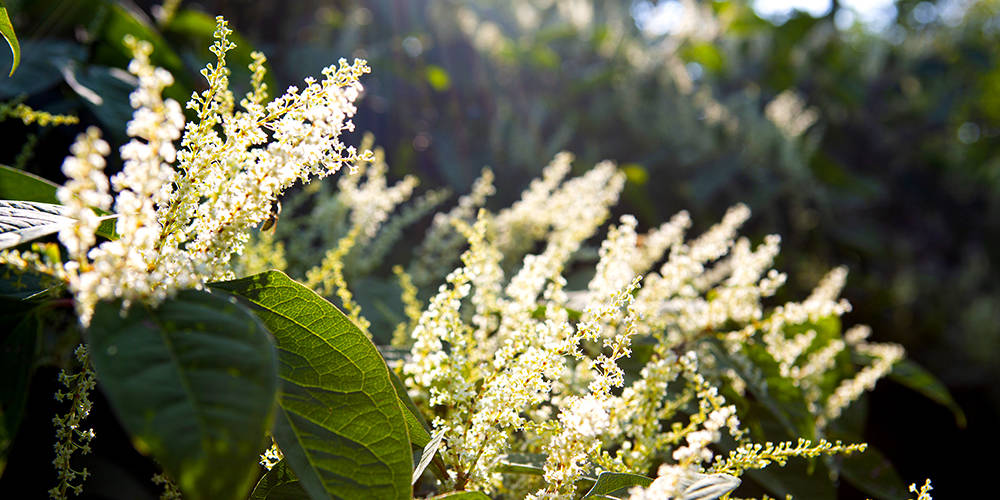
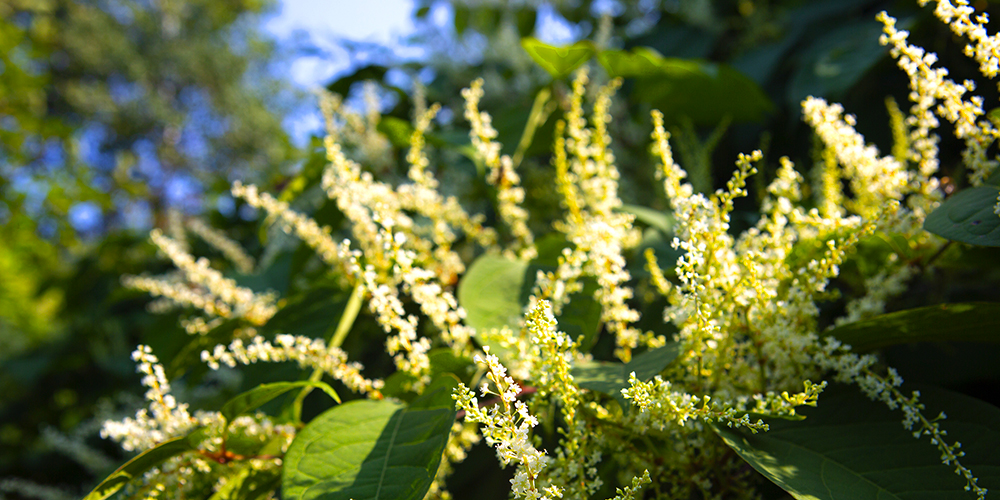
The Japanese knotweed was introduced to North America in 1901 for ornamental purposes. Gardeners were seduced by its beauty and many have been fooled. This tough perennial can reach 2 to 4 metres in height in a single season to quickly fill space in the garden. Its panicles of creamy white flowers at the end of summer are often considered attractive, at least until we know what to expect from this relentless aggressor.
Why is the Japanese knotweed so difficult to eradicate?
The Japanese knotweed heavily takes over spaces, suffocating native species and depriving the biological diversity of the ecosystems that we are trying so hard to preserve. It rises from the ground early in the spring and grows rapidly, which allows it to form monocultural clumps that quickly overshadow native species.
The Japanese knotweed impacts perennials, shrubs and trees as a dense population prevents native seedlings from growing. As if that were not enough, its root system releases toxins that can prevent the growth of other species.
It spreads both by rhizomes and by seed, which is why it is so difficult to eradicate it even if we try to prevent it from flowering. Its mode of reproduction is amazingly effective. A tiny fragment of stem or rhizome is enough to produce a whole new plant.
The rhizomes can sink more than two metres deep into the ground and extend laterally over seven metres. Rhizome fragments can lie dormant in the ground for many years and can suddenly appear a short distance from your foundations. The rhizomes can infiltrate the smallest cracks in the infrastructure. We have seen Japanese knotweed rhizomes popping out of asphalt. In the absence of a natural enemy, this absolute aggressor poses a very real threat.
Where can I find Japanese knotweed?
The Japanese knotweed grows best in moist environments: edges of water bodies, beaches, ditches, irrigation canals, embankments, and other disturbed habitats where water accumulates during the season. However, as it can tolerate most challenging growing conditions, the Japanese knotweed is not affected by hot temperatures, drought or flood zones, and can take over large plots of land even if the conditions are less favourable.
Its presence near lakes and rivers limits access to waterways and contributes to shoreline erosion. In the spring, its long, dead, bamboo-like stems float on the surface of bodies of water, disrupting water flow and increasing the risk of flooding.
Knotweed can also lay claim to urban areas where it prefers open places such as the edge of streets, ditches and gardens. In fact, there are still gardeners that grow it as an ornamental plant. Once established, even solid materials fail to halt its advances.
Japanese knotweed is sometimes confused with Sakhalin knotweed or Bohemian knotweed. Bohemian knotweed is a hybrid of the other two plants. All are invasive – including specimens with beautiful, variegated foliage. More competitive than Japanese knotweed, the hybrid spreads even faster. Being larger, the Bohemian knotweed’s leaves can reach a length of 15 to 25 cm and exhibit the presence of small hairs on the veins under the leaves, which are visible with a magnifying glass.
If the Sakhalin knotweed is becoming rarer, the other two species abound in the regions bordering the St. Lawrence as well as in southern Quebec. More recently introduced in Abitibi and in the Nord-du-Québec region, they are now present in all the hydrographic zones of southern Quebec, with the exception of Anticosti Island. They are also present from southern Ontario to Newfoundland, in Manitoba and in southern British Columbia.
How to identify Japanese knotweed?
Japanese knotweed grows in clumps called colonies or clones. The stems mature towards the end of July, reaching an impressive height considering that they emerged from the ground just 3 months earlier.
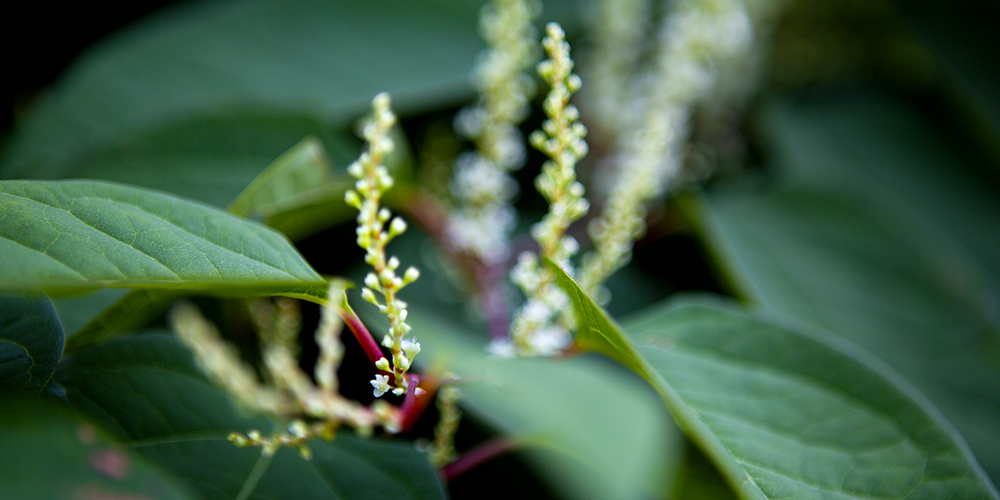
Its root system consists of a powerful network of fleshy and woody rhizomes, dark brown on the outside and orange on the inside, where the plant stores its nutrient reserves. Each compact mass of rhizomes produces one or more green or reddish hollow stems, sometimes with purple spots, which resemble those of bamboo.
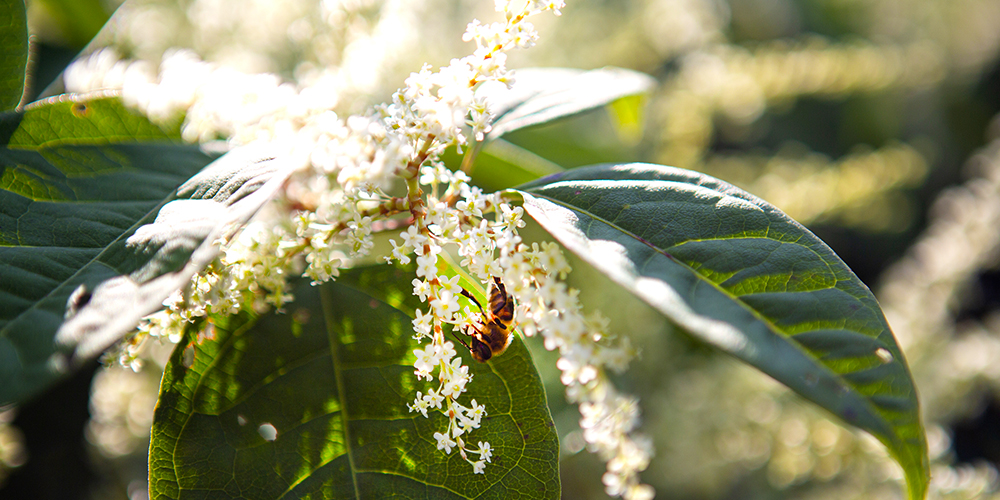
Japanese knotweed leaves are oval with a pointed tip. Placed alternately on the stems, they have a length of 7 to 15 cm and a width of 5 to 12 cm. From August to September, panicles of creamy white flowers adorn the plant. Each small teardrop-shaped flower will produce white fruits which, in many regions, will not have time to mature before the onset of severe cold weather.
How to avoid spreading Japanese knotweed?
There are several vectors that participate in the dispersal of knotweed fragments. Nature’s water and ice movement on waterways helps to spread it. However, human activities can contribute the most to the spread of the plant. Excavation work with the export of soil, soiled machinery, landscaping and even the division of perennials are likely to spread it. Don’t forget that you only need a tiny fragment of rhizome to have a new plant emerge, and possibly an entire colony.
This plant is extremely difficult to eradicate, so every effort must be made to avoid sowing, planting and multiplying it, either voluntarily or involuntarily. You can play an active role in protecting ecosystems. These recommendations are valid for the three knotweeds discussed in this article.
Learn to recognize it and report its presence (in Quebec, do so using the Sentinel tool). Once the knotweed has been removed and eradicated, be sure to replace the exposed soil with plants that are competitive and fast-growing.
Here's how to properly dispose of knotweed plants so they don't spread:
- Put all plant residues (stems, roots, soil, etc.) in sturdy, sealed and waterproof black garbage bags that you will place in the sun for a few weeks before putting them in the garbage.
- Do not leave the plant residue loose in the landscape.
- NEVER throw them in the compost.
- Excavated material containing knotweed residue must be managed responsibly. It can be buried on site or taken to a place authorized to receive it (e.g., technical landfill). A burial depth of at least 2 metres is required for all excavations containing knotweed residues.
- Machinery or equipment that has been in contact with the plant should be thoroughly cleaned to avoid transporting plant fragments or seeds.
- Avoid using soil excavated from a location with colonies.
- When you divide perennials planted less than 7 or 8 metres from knotweed, avoid replanting them in another part of the garden and above all, give up offering your plants to your friends. A fragment of knotweed hidden in the roots of a pretty plant is indeed a poisoned gift.
How to permanently get rid of Japanese knotweed?
The fight against Japanese knotweed is a particularly arduous struggle that can take several years. This is why it is necessary to start as soon as a new colony emerges. The best chances of victory are based on prevention, early detection and rigorous monitoring of the areas treated.
Uprooting
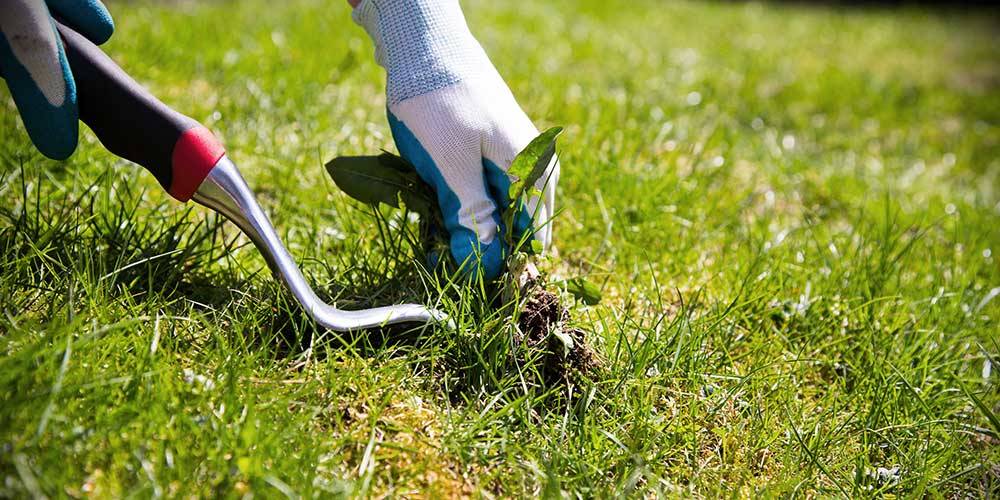
You can try to eliminate young plants or a small colony by completely removing the root system from the soil. However, since the rhizomes are very deep, it is exceedingly difficult to remove all the fragments in the ground.
Uprooting stems and surface rhizomes, conducted repeatedly over several years, can reduce the size of a colony. Simply cutting the plant, without reaching the rhizomes, does not eradicate it. However, lowering the colony to ground level every two weeks depletes the plant's reserves and weakens it. HOWEVER, doing it just once may, on the contrary, stimulate its growth!
When the colony is large or well established, it is better to choose another method. It is also possible to combine it with the tarping method.
Excavation
Excavation with a power shovel may seem drastic, but this technique, when done well, can eradicate the colony. The excavated material must be disposed of responsibly, as mentioned earlier.
The tarping method
The tarping method is another solution that may work. Although it requires patience, it prevents physical exhaustion. This consists of spreading an opaque tarp on the surface of the soil to prevent the growth of the plant. Over time, this can usually reduce the size of the colony, but eradication is not guaranteed.
If the knotweed patch is in a part of the property that you don't use, you don't lose much by trying.
Here's how:
- Get a quality fabric (geomembrane or geotextile).
- Cut and remove the knotweed stems.
- Place the tarp to cover the entire patch and add a buffer zone of at least 2 metres around the periphery. (If you must use more than one tarp, allow for an overlap of 50 centimetres to 1 metre.)
- Place weights on the tarp (stones or bags of earth) to hold it in place.
- Do not use tarps with holes, as knotweed will squeeze through any opening.
- Regularly inspect the tarp; if necessary, repair or replace it, and remove any knotweed stems that protrude from them.
- Keep the tarp on site for a couple of years; it can take more than five years to achieve results.
- Restore the site by planting competitive, fast-growing shrubs after the removal of the tarp (dogwoods, willows).
The use of herbicides
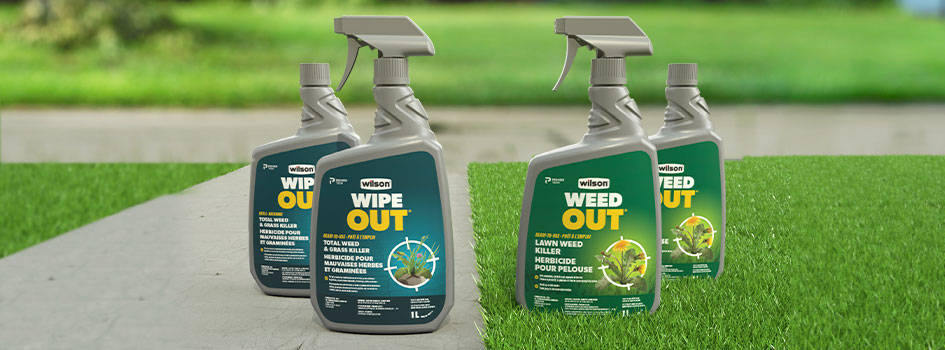
Registered herbicides can also be used. Make sure that they comply with the federal and provincial regulations in force and proceed according to the instructions recommended by the manufacturer.
Here's how:
- Cut the stems.
- Once cut, a vigorous regrowth occurs. Apply the herbicide to the cut stems to ensure optimal absorption.
- Reapply to each regrowth as soon as it appears.
- Do not apply herbicide at a distance of less than 3 metres from a watercourse or a wetland. This must be respected when applying herbicides.
- Interventions in wetlands and near lakes and waterways may be subject to authorizations. Check with your municipality and your government.
